Well that didn’t take all that long. Had to go to the little used upstairs computer and find the folder, and upload those photos back onto Photobucket.
I hear you. The carving and decorating is the fun part for me. Here is that info anyways. Maybe someone will like it and get inspired to take up a wonderful hobby.

Here is a piece I did a few years ago for a friend. His father loved his cottage that he built and my friend wanted to gift him with something special in leather. This was the result.
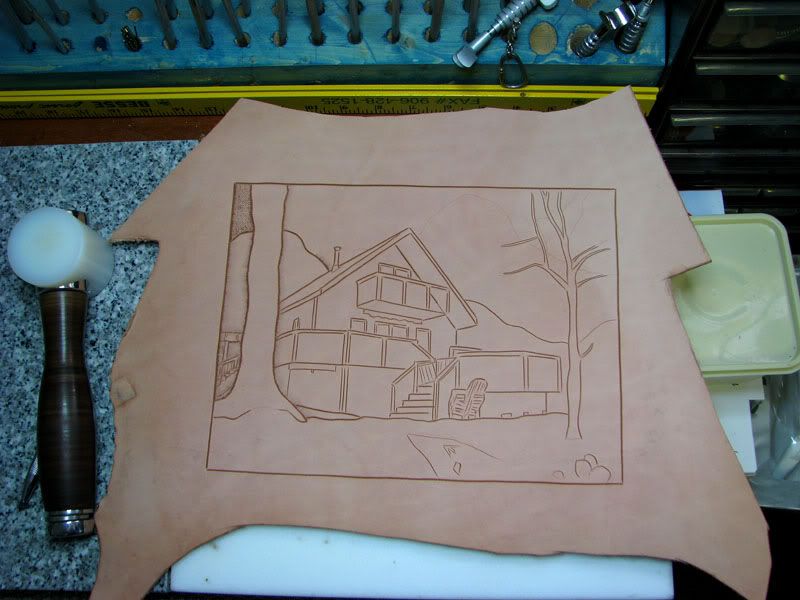
1. He gave me a little photograph of his father’s cottage. I was always good at art, and was able to upscale it by simply drawing onto the piece of leather. Now the first step is to wet the leather with water. This is called casing the leather. Wet leather will take any marks, including finger prints, so you have to be careful on how you handle it. To draw the cottage on, I used a simple metal stylus made for this purpose.
2. The next step, once the drawing is done, is to carve the leather. You use a swivel knife. It is a basic leatherworker’s knife that has a finger saddle and a barrel that you can rotate between your fingers for those curved cuts. The trick with using this knife, is that you always pull towards you (gives you the most control), and to only cut about half way deep into the leather.
Here you see the first cuts tracing the lines that I drew into the wet leather.
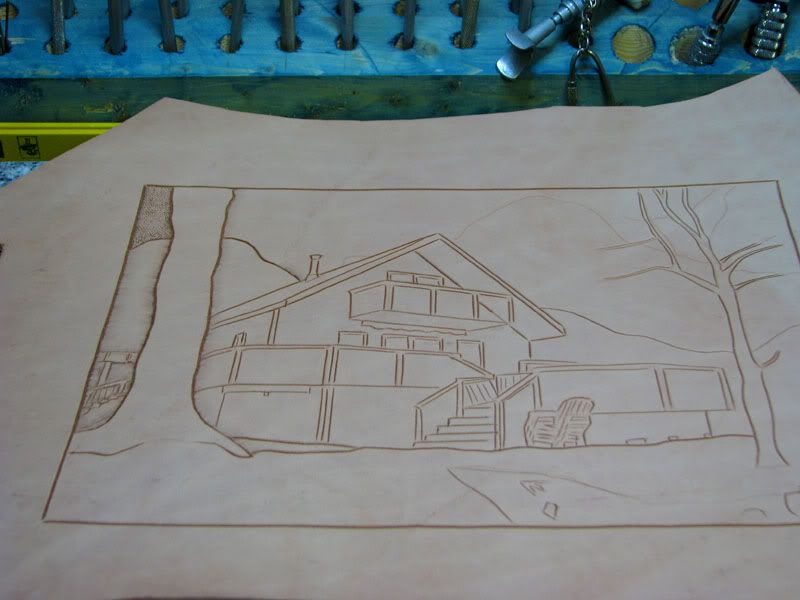
3. Once you have cut all your lines, you can now start the tooling aspect. Leather workers tool leather using leather stamps and mallets. There are many different shapes and techniques to using them that I won’t go into details. What you need to know is that while the leather is damp, you hammer these metal designs into your leather to achieve different results. The beveller is probably your most used stamp. It is used to give you that 3D look by pushing the background away from the foreground or object you want to pop out. Any beginner book will tell you how to do this…and plenty of practice.
Here you can see that I have started to tool the leather on the left hand side using different stamps.
Here you can see that I have continued to work those stamps. I now have the sky done using a background stamp. I myself like to work with the distant parts and work my way up to the foreground.
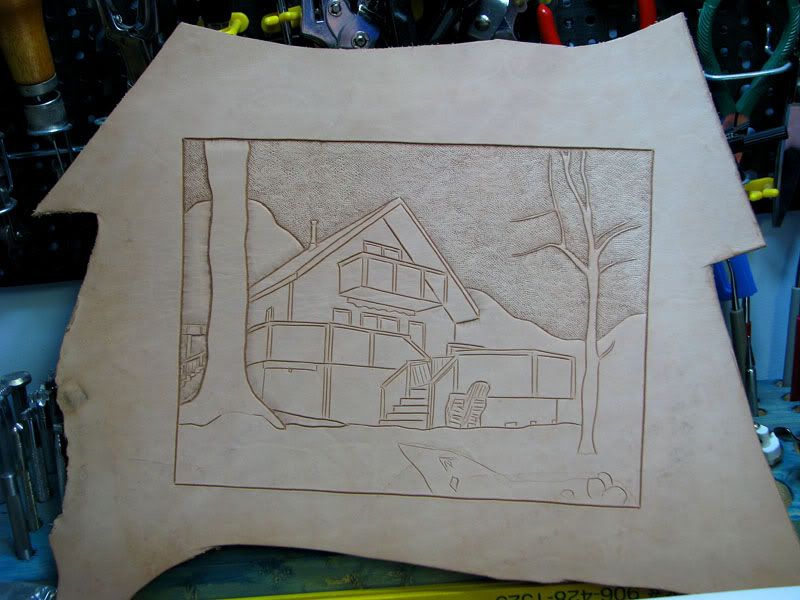
Here, you can see that I have done a little of the foreground details.
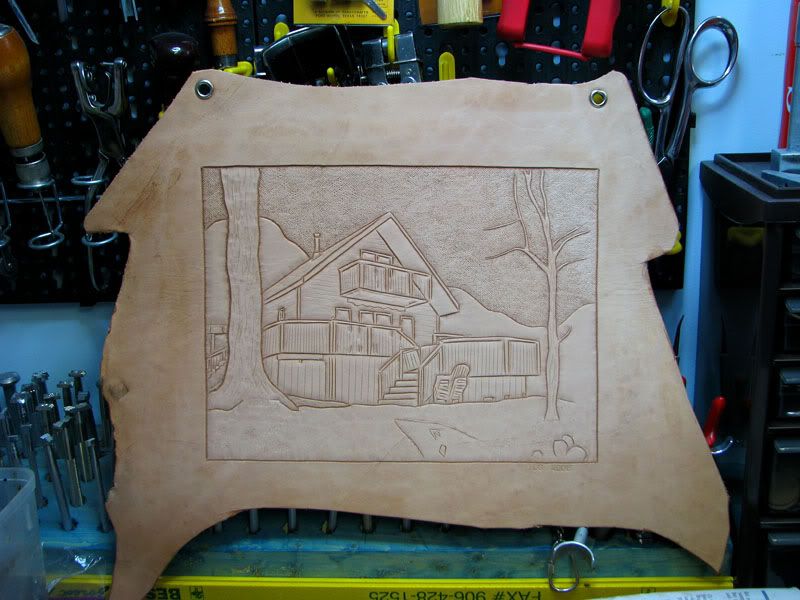
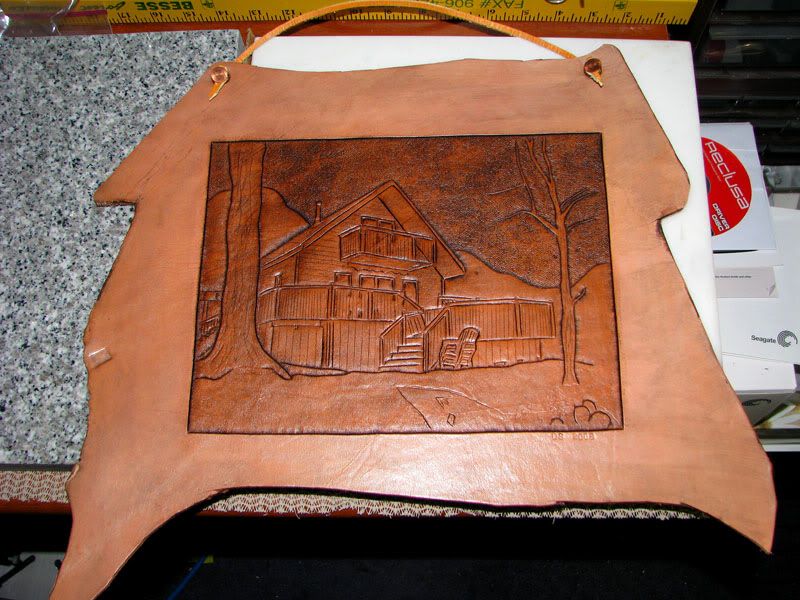
4. Once you are happy with your tooling results, then the next step is to finish it. Leather always looks better when dyed and properly finished. It brings out your tooling marks, and also the character of the hide. There are many types of dyes out there and acrylic leather finishes. For this one, I used a wipe off dye. Use a wool dauber to cover your piece in dye in even circular stokes…then wipe off the excess after a given time. I like this dye simply because the longer you leave it on, the darker your work will get. If you use a wet sponge to wipe the dye off quickly, you can get a nice wash effect. The last step is to use another wool dauber and cover the whole piece in a clear acrylic finisher and buff with a dry soft cloth to a shine.
Here, you can see the finished piece.
Well that concludes this little peek into tooling and decorating leather.


