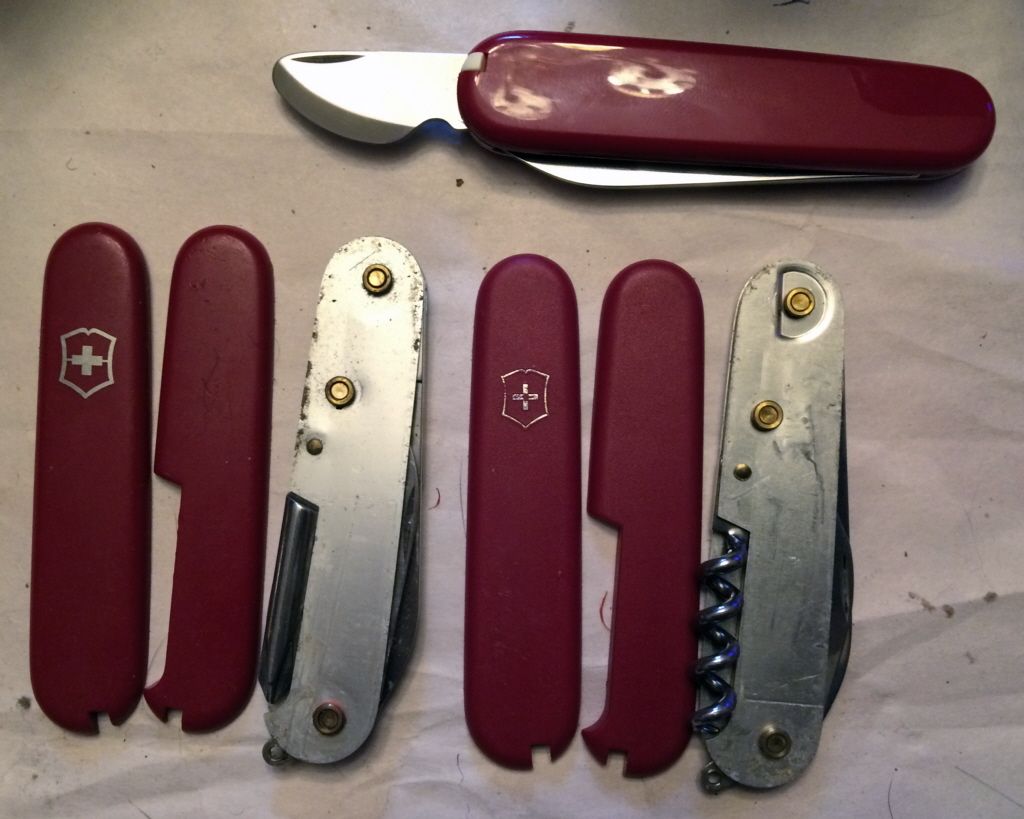
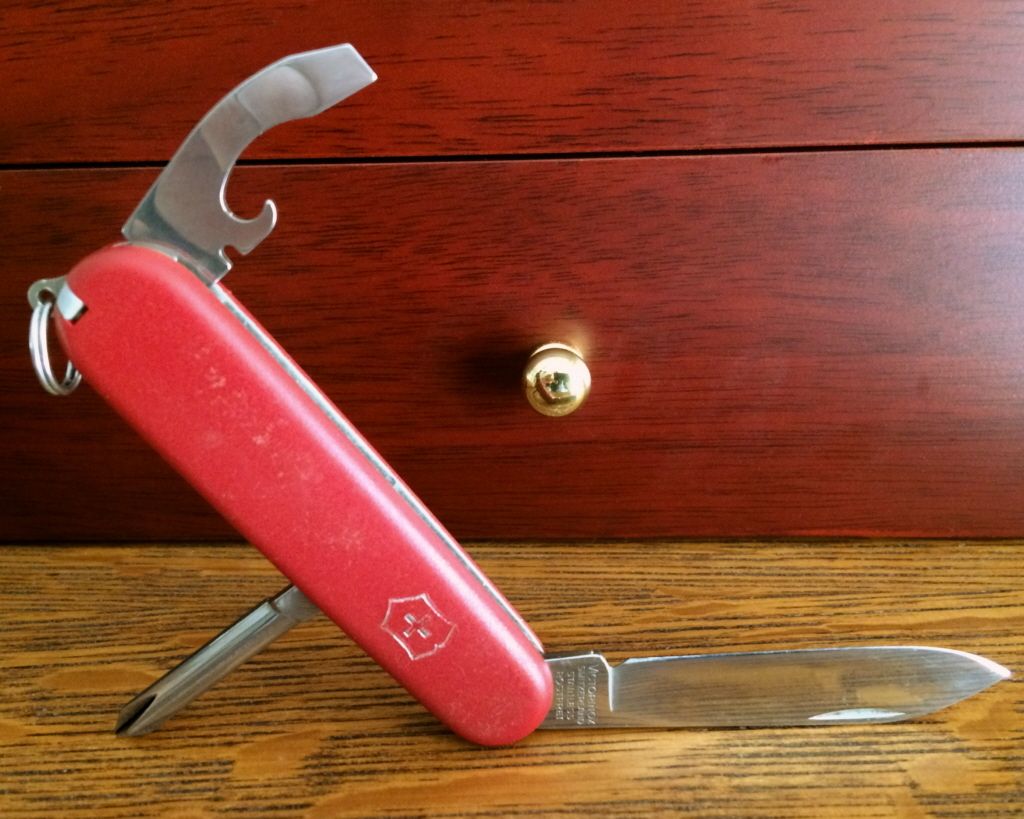
The goal for a first time hack was to do something relatively simple. I've wanted an Apprentice, but they've been long discontinued, were not made in large numbers, are scarce as hen's teeth, and when they do show up in decent condition on ePrey, they quickly get bid up by collectors to much more than I want to pay. The only difference between the much more common and currently available Waiter and an Apprentice, is a corkscrew versus a Phillips on the back. So a decent condition Waiter and a thoroughly thrashed small Tinker with bent blades were acquired, with the Tinker serving as the Phillips organ donor. Also acquired some 2.5mm brass rod (2.2mm is not available in the U.S.), knowing that if I could not reuse the pin from the Tinker I would need to fabricate a 2.25 mm pin from it. In retrospect, 3/32 inch brass rod, which is nominally 2.38 mm would have taken less time for diameter reduction to 2.25 mm. At least I have plenty of 2.5mm now if I want to do more advanced hacking.
In the "Old Days" we called a posting like this one a Modem Burner. There are over two dozen photos documenting this mod in detail.
The first step, after cleaning the Waiter, was removing the scales on both knives. One method I've used in the past is the sharp curved edge on a Vic can opener to get between the scales and the outer liner:
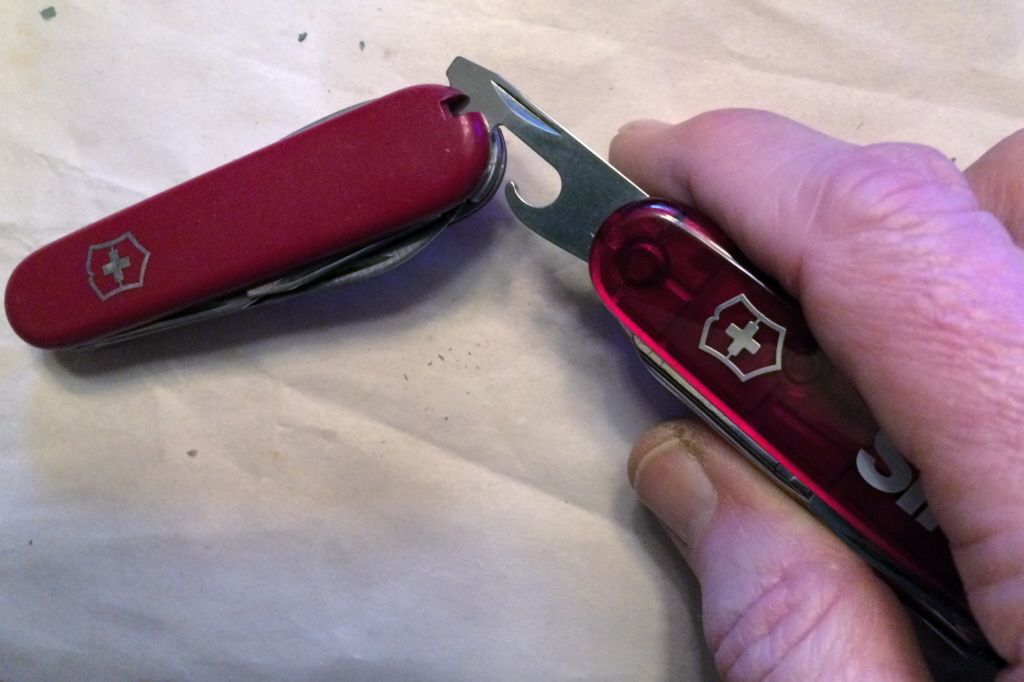
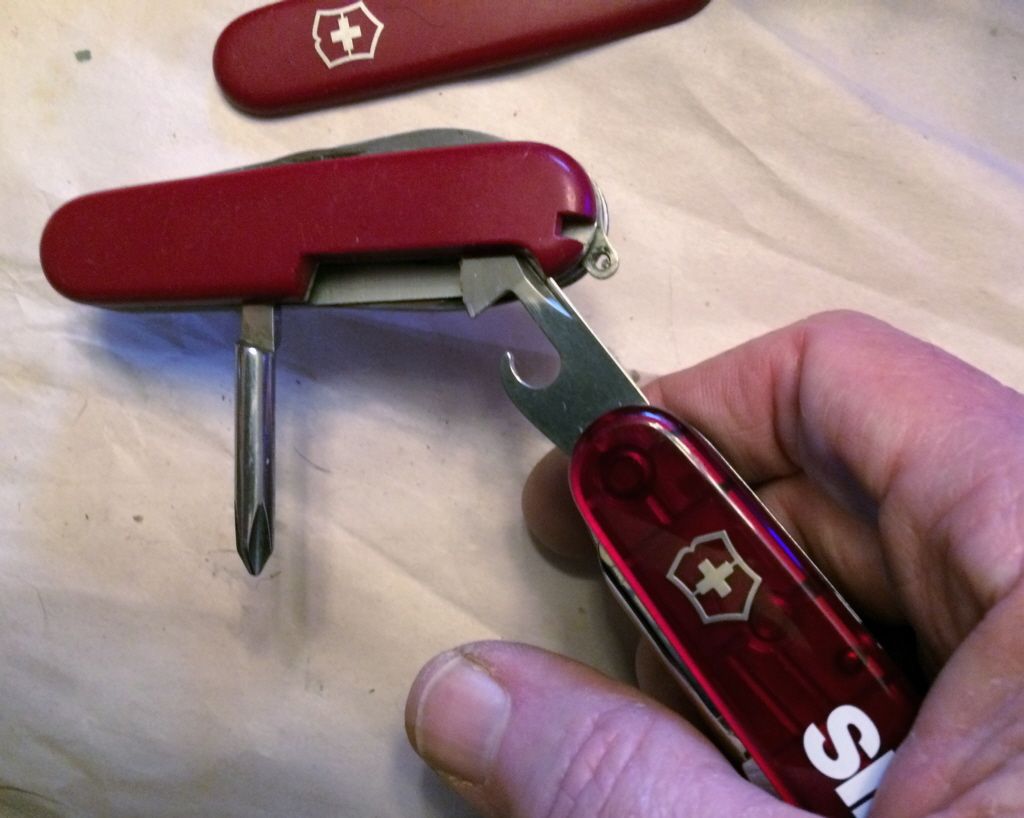
Used the Cyber Tool 34 and was able to kill two birds with one SAK by posting that to my STACK Challenge Thread. My preferred method now though is using a watch case knife. Vic has a nifty Uhren Offner (watch opener) knife. The curved opener is thin enough to get under the scales, but dull enough it won't cut you, and sturdy enough for prying, which is what it's made for to get snap-on watch backs off.
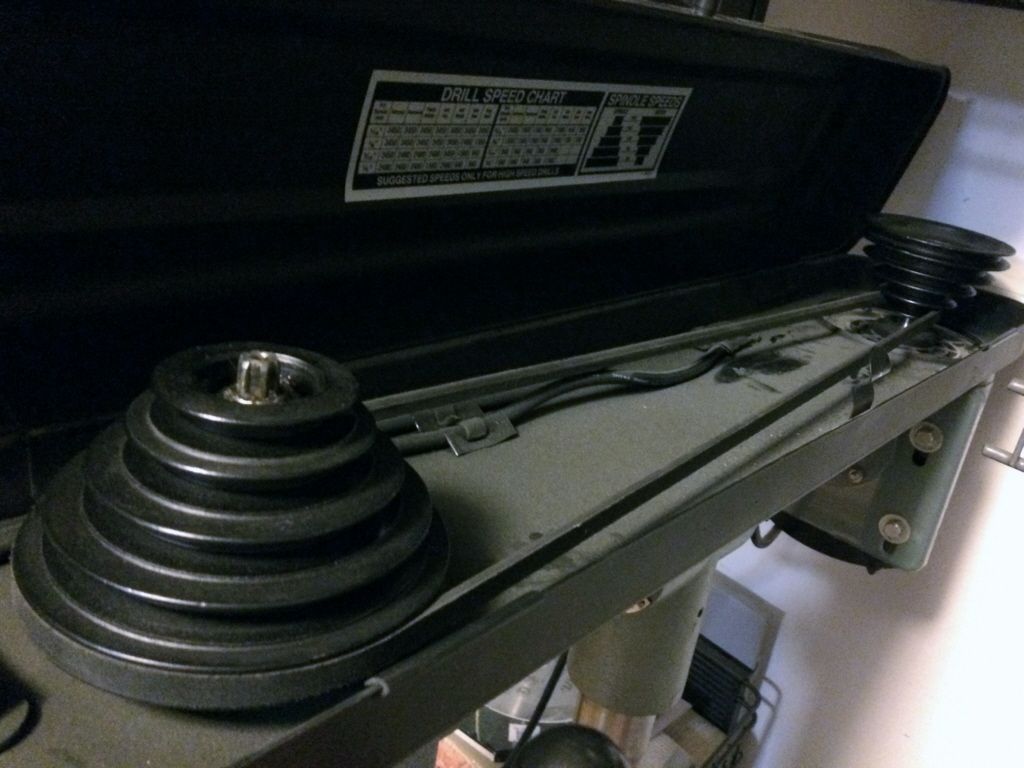
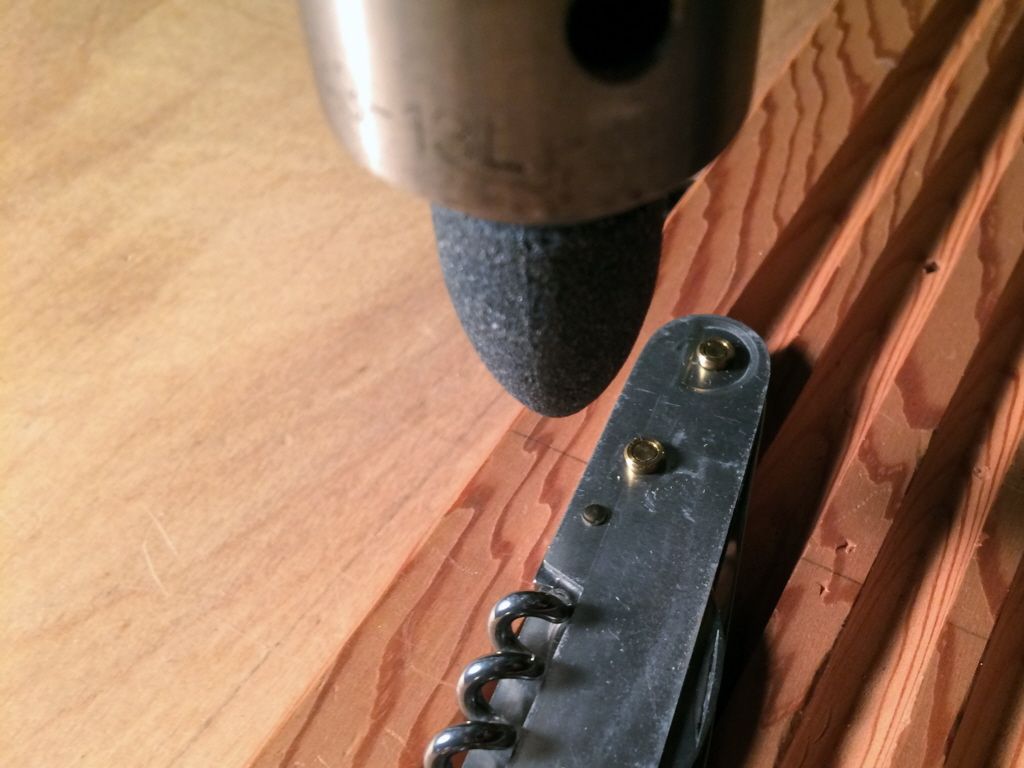
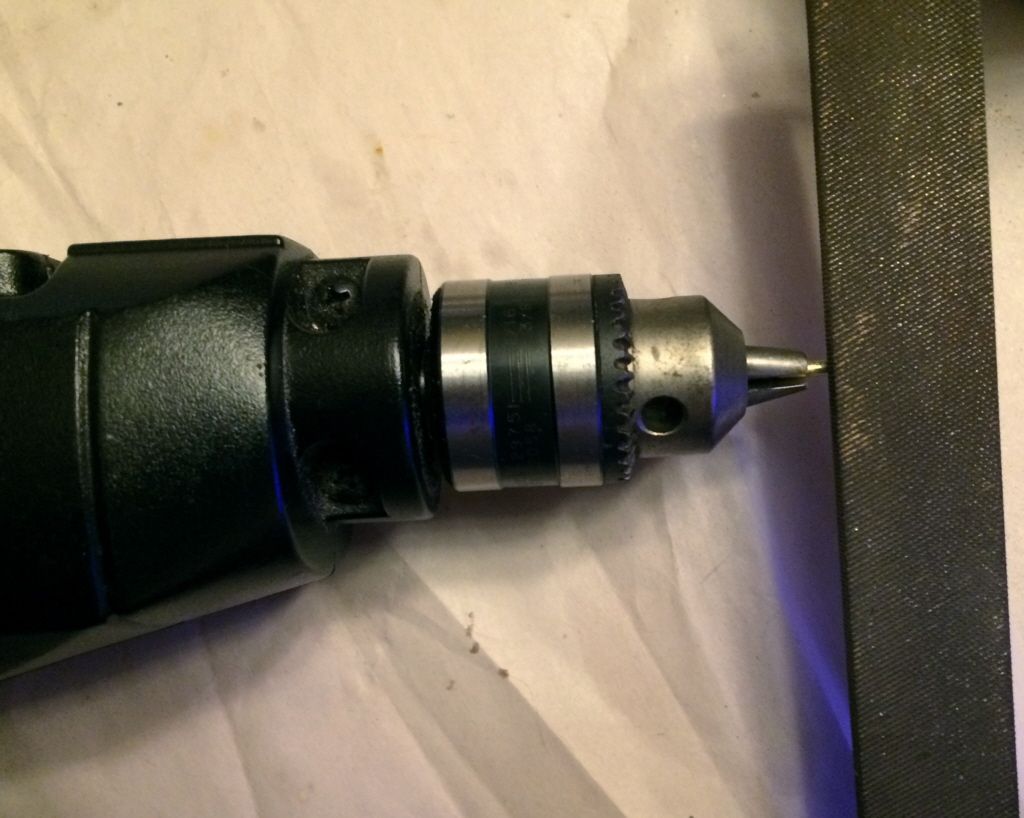
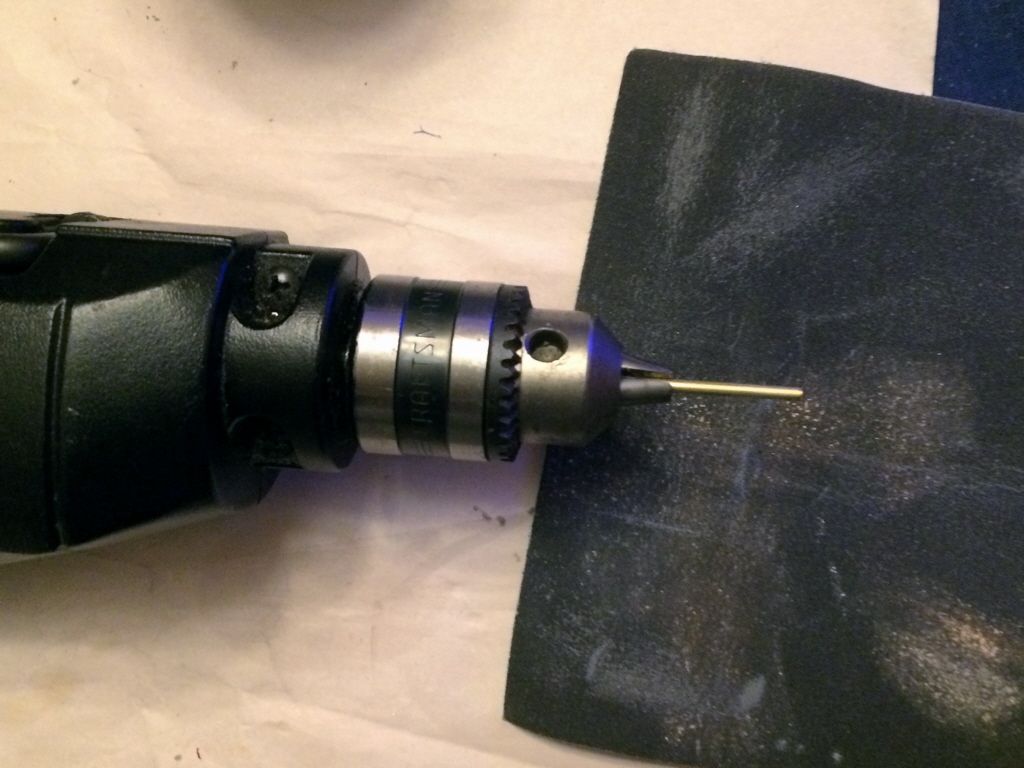
Now that the scales were off, the next step was removing the pin holding the Phillips on the Small Tinker. I had what I thought at the time to be a brilliant plan to grind the peined head off the pin using a conical grinding stone drill bit in my drill press.
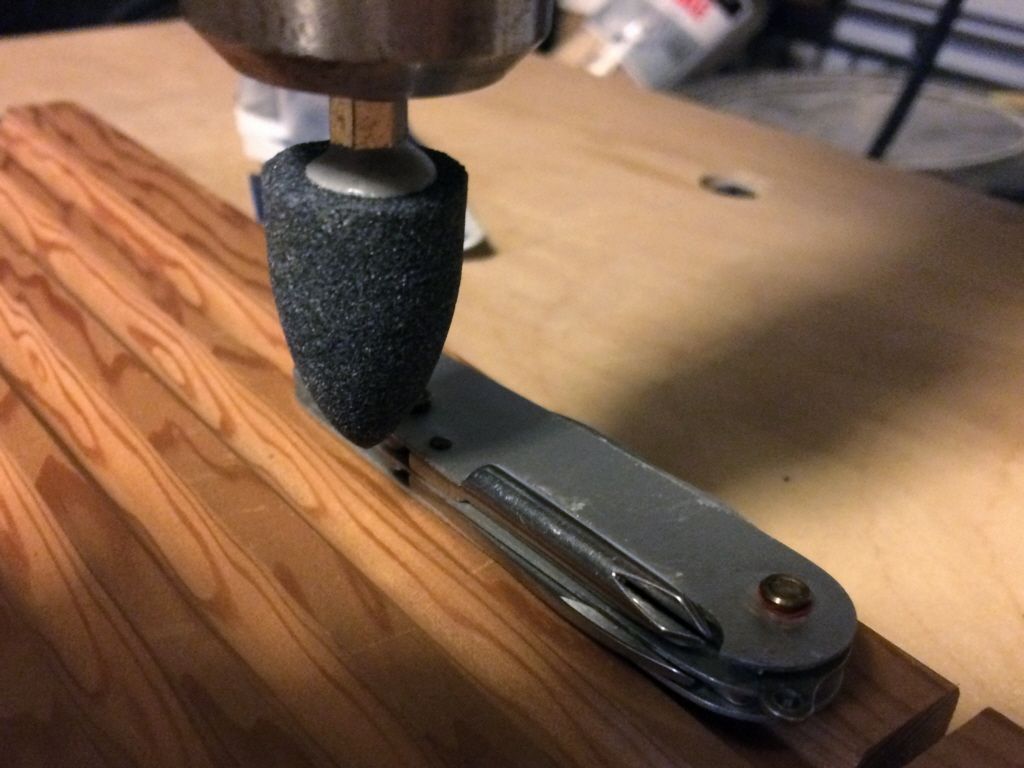
When using a bit like this it's advisable to run the chuck at its lowest RPM. It's less likely to fragment and, and should it come apart, the shard shrapnel won't be as high a velocity as they would be running at a high rpm.
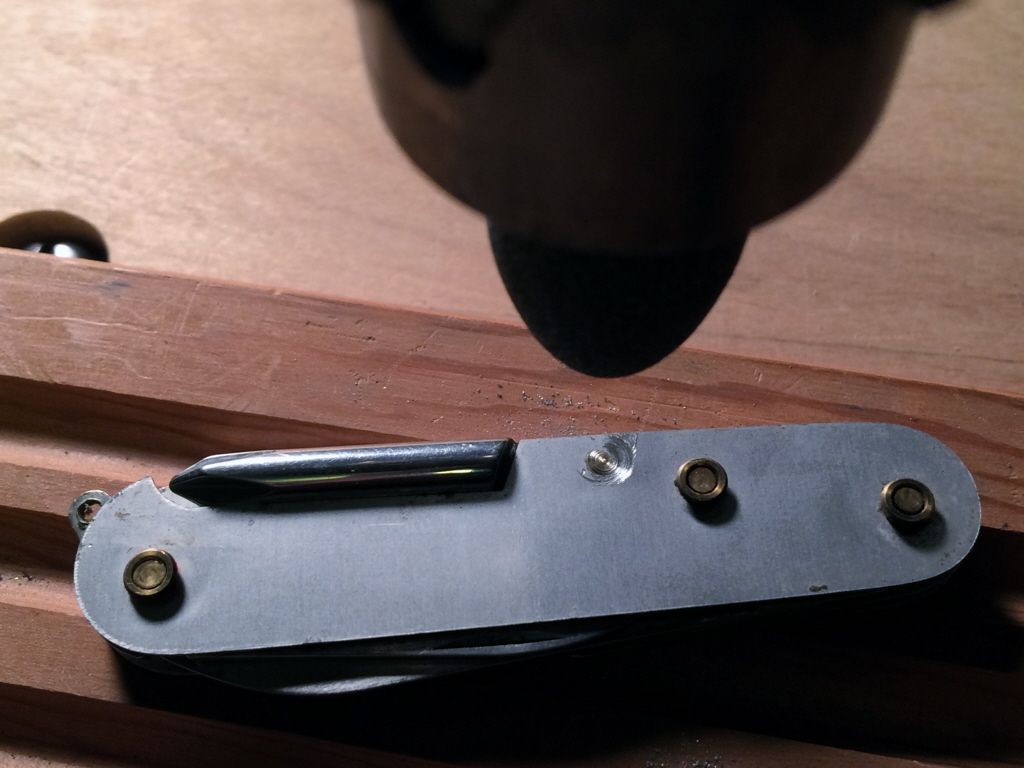
Grinding the head off the pin takes longer than I had expected. Nevertheless, it's done. If I've scraped the liner a bit, no matter, as this is the sacrificial Small Tinker that's been so thrashed that it's beyond redemption.
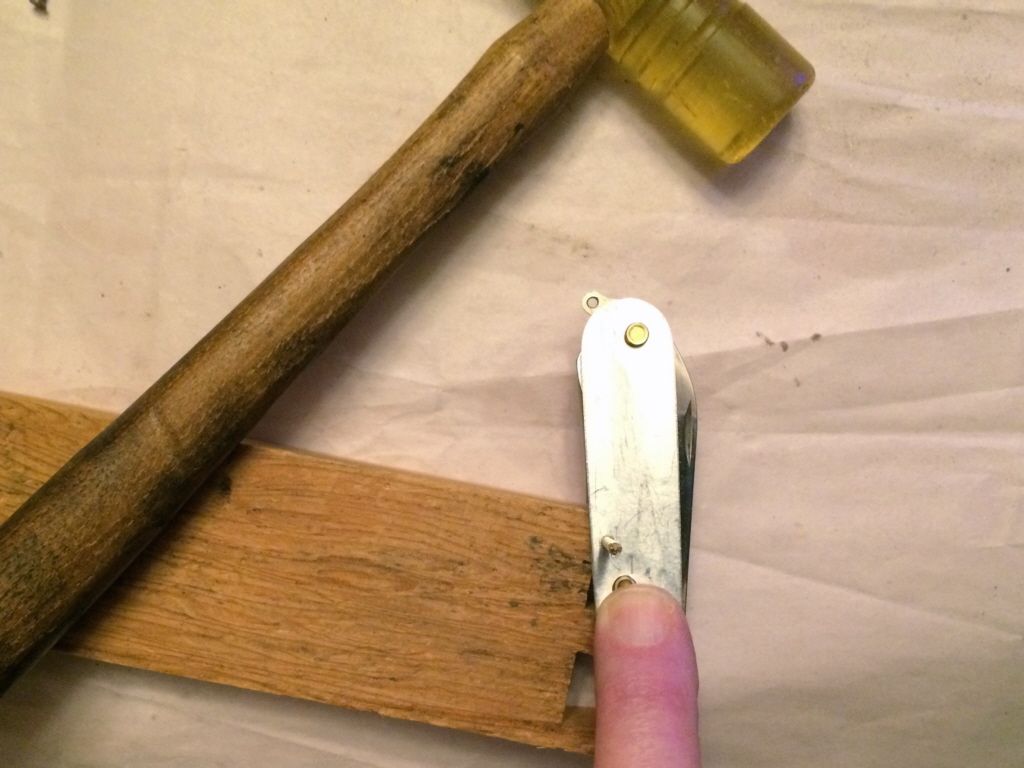
Starting to drift the pin out using a small tack hammer and finishing nail setter (which is made to be struck by a metal hammer) verifies that I've gotten the head off.
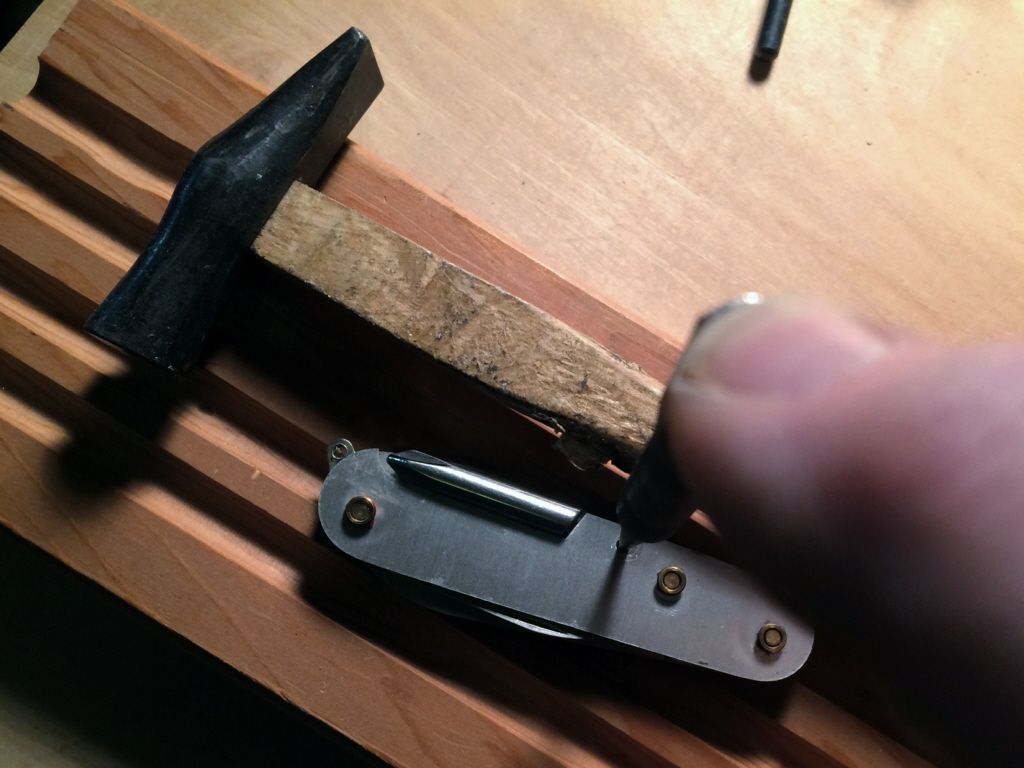
I don't want to drift it out completely, not on the drill press table in my garage work shop, as I'd like to salvage the pin, and I'd never find it if it dropped to the floor here. Just getting it started is sufficient to tell me I'm done with this knife.
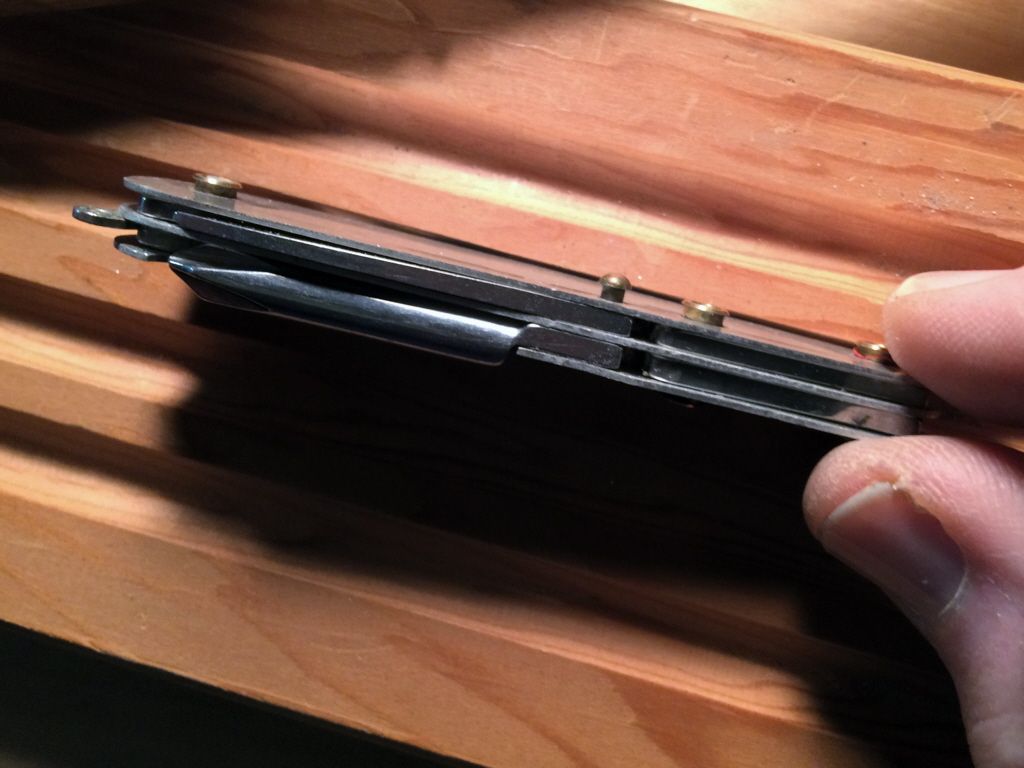
On to the Waiter, the liners on which I don't want to damage, now that I've gotten past the learning curve on the sacrificial Small Tinker . . .
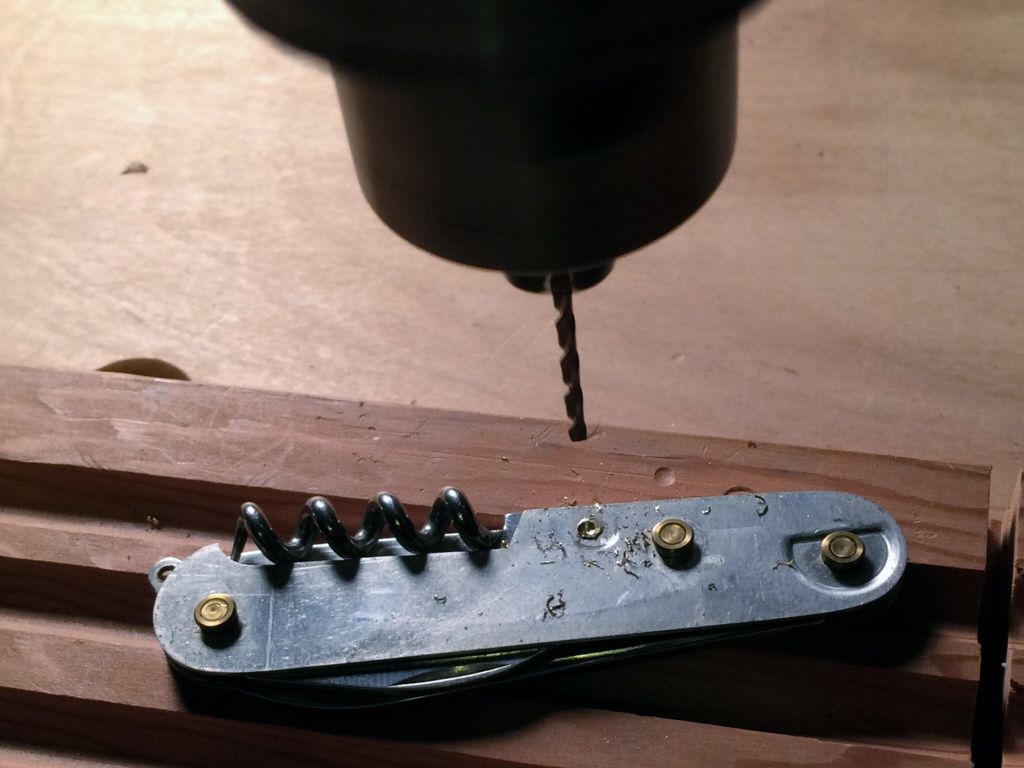
Seems there's a problem. The grinder bit was apparently not made for even non-ferrous softer metals like brass. I discover why it seemed to take a while with the Small Tinker. The end of the grinding bit was being ground off by the brass pin head as fast as it was grinding the brass head. It's now flattened, even slightly concave on the tip, and useless for doing the same with the Waiter. On to Plan B, which I was trying to avoid, using a center punch and starting with a 5/64" drill bit to drill the head off. Although small diameter bits can have the chuck RPM cranked up, I leave it at lowest RPM for better control of the cutting progress. I move up to a 3/32" bit after I get a good start and have a nice divot in the brass head.
I eventually switch to a 1/4" bit to finish off the brass head, taking care to keep the abrasion of the aluminum scale to a minimum, and I'm able to start drifting it out using the tack hammer and nail setter.
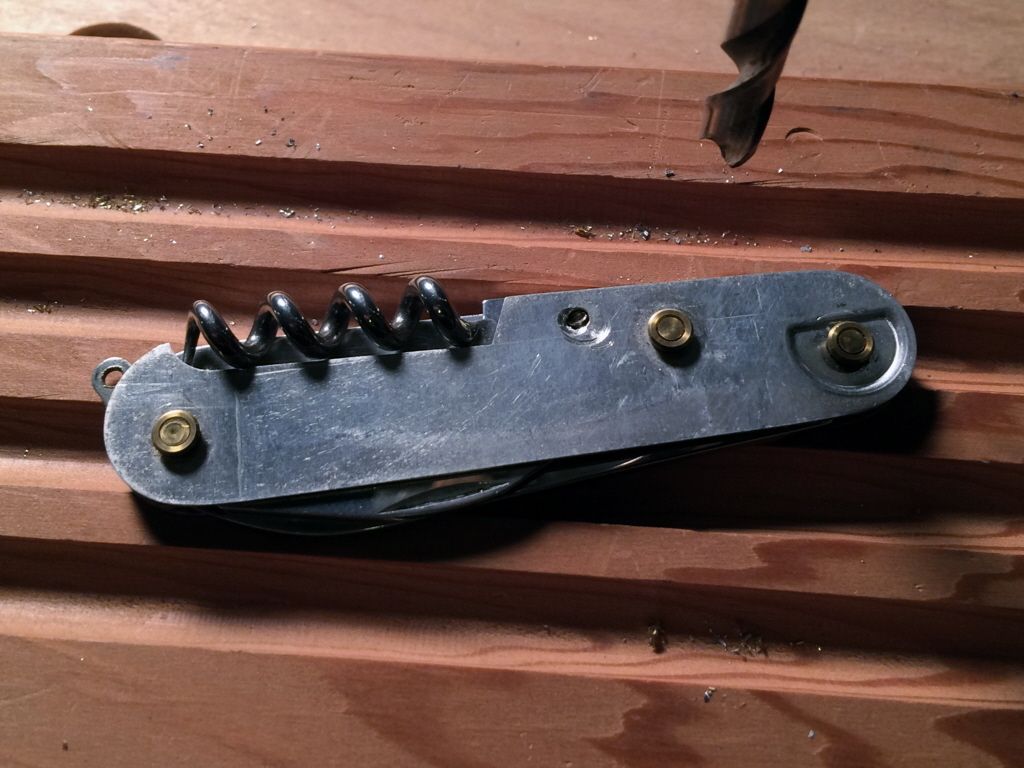
As with the Small Tinker, I just get it started so that I can finish drifting out out with more support around the hole to keep from bending the liners.
Inside the house, using a small vise on a computer table, I'm able to clamp the knives in using padding to reduce some of the lateral spring tension on the pin and (not visible) also put some support under the knife to keep from bending the liners.
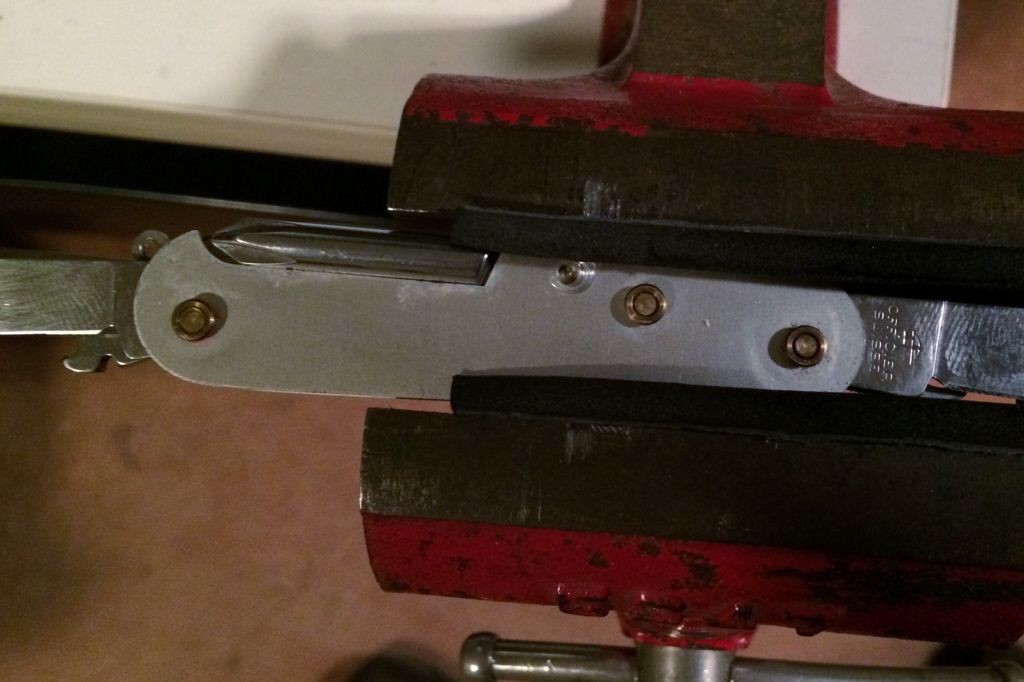
The pins and all the back layer tools have now been removed by drifting the brass pins out the rest of the way using a small box nail as the drift and tapping it with a small tack hammer.
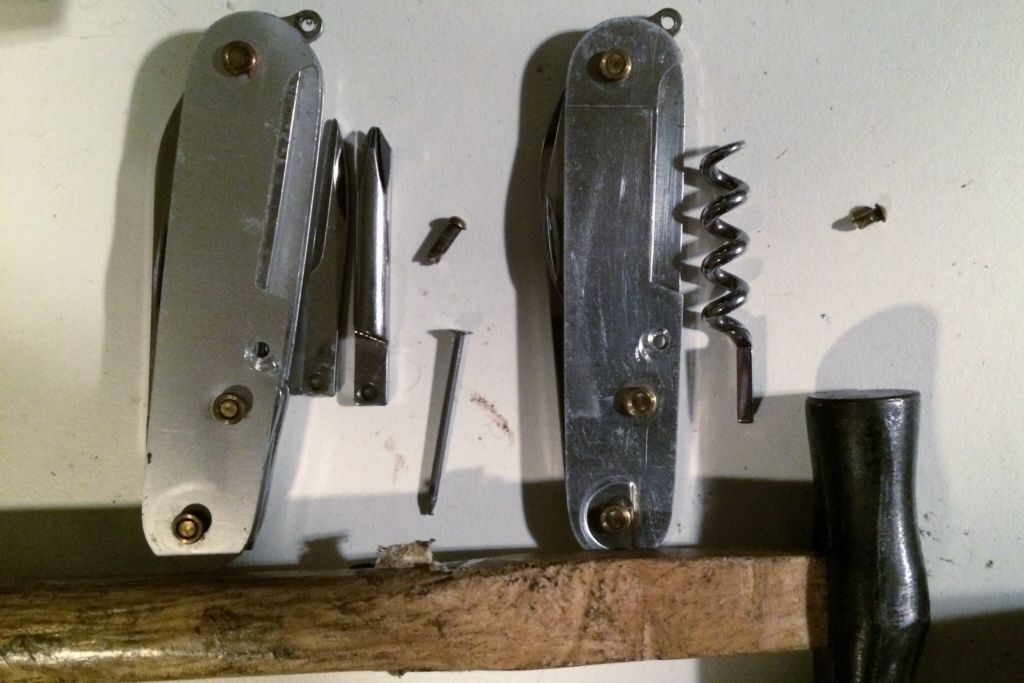
The Small Tinker pin proves to be unusable. It's simply too short to work with effectively trying to work it in to the (former) Waiter with the Phillips in place of the corkscrew. I need to fabricate a 2.25 mm pin long enough to work with. After trying some medium grit emery paper and a hand drill sideways like a crude lathe, it becomes clear it will take until the end of time to reduce that pin diameter with it. A flat file made for filing metal still takes a while, but makes progress. I discover in the process that the hole in both the Phillips and the corkscrew are just hair larger than 2.5mm, as if they were made for 2.5 mm pins. No matter, although it's tempting to drill out the liner holes to 2.5 with yet another trip to Lowe's and/or Sears to get a metric drill bit, if they even have a 2.5 mm bit in stock, I continue with what I have at hand using the drill as a crude lathe with the file.
I check frequently with calipers and with the holes in the (former) Waiter liners. Eventually I get down to 2.21 - 2.24 mm, depending on where I measure the pin. Not too shabby to keep the pin from getting very conical.
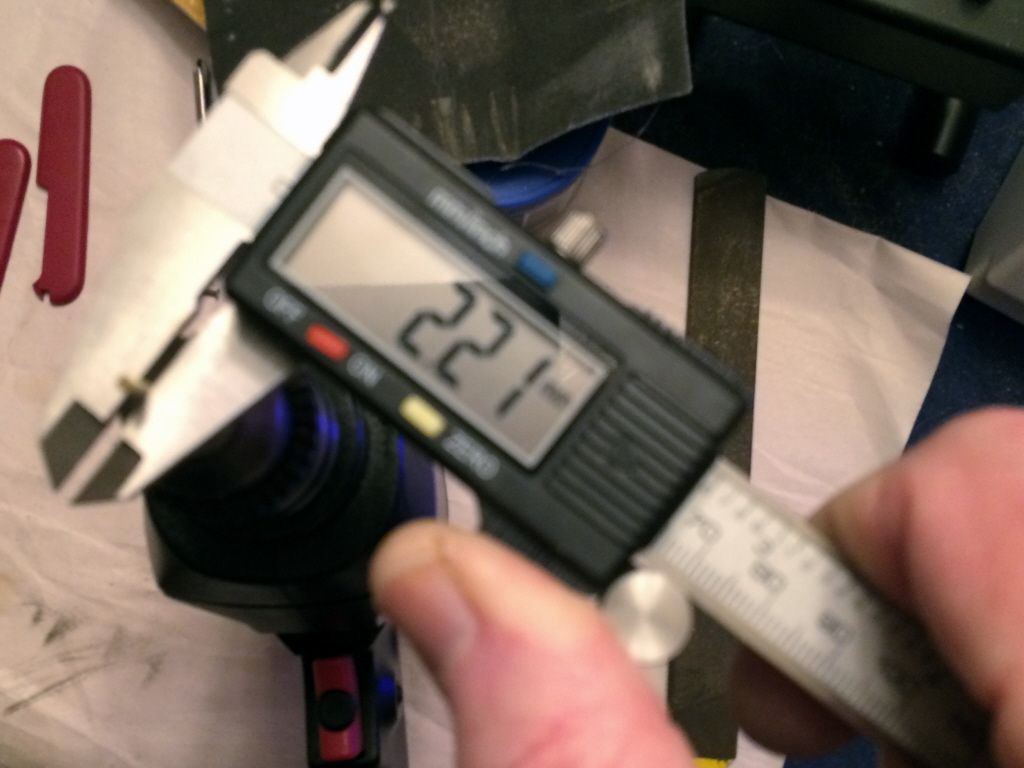
Now I polish it some using emery paper to remove a bit of its roughness without reducing it's diameter much further.
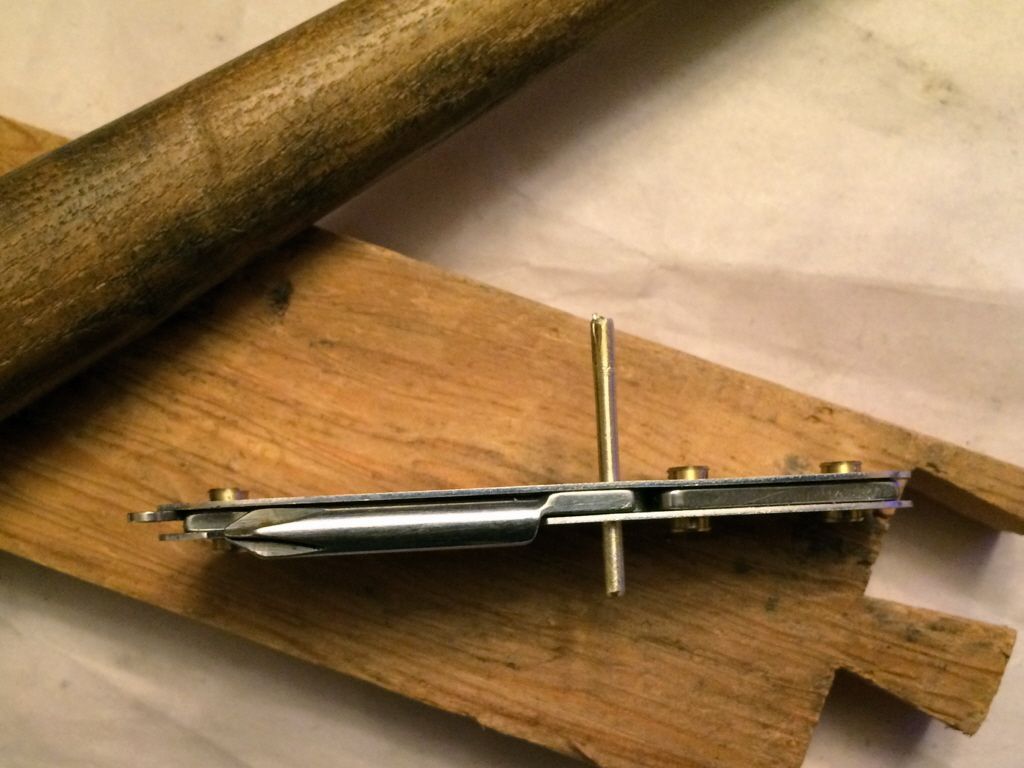
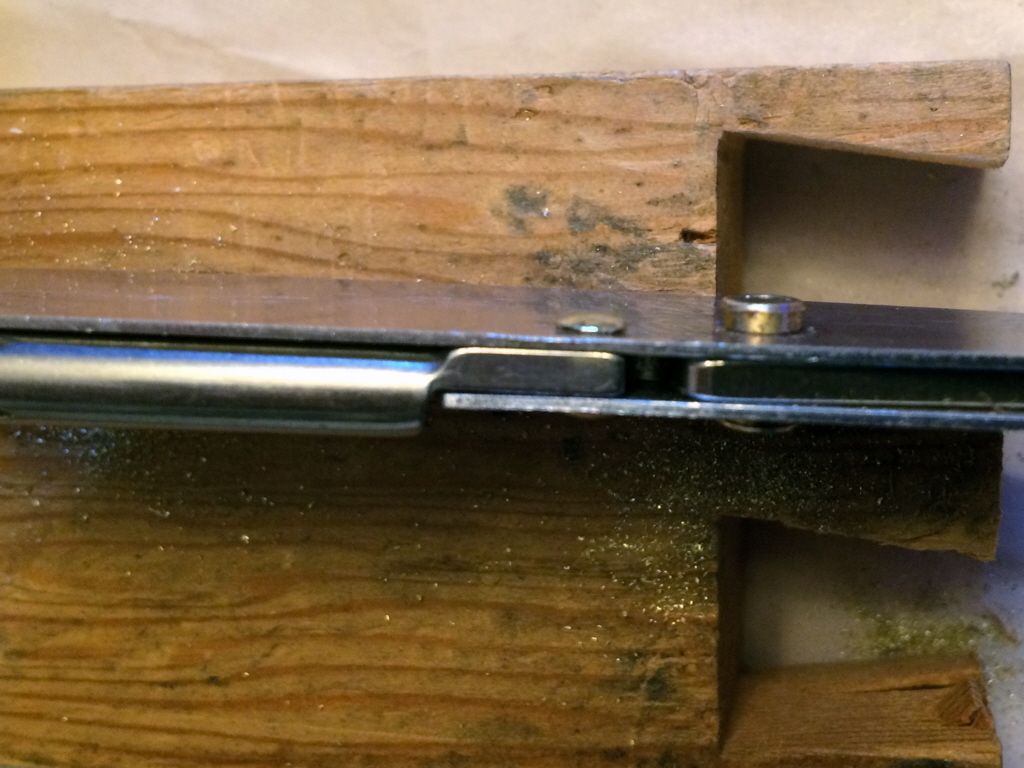
After beveling the end with the file, I'm able to get it started into the reborn Apprentice with the Phillips using a small plastic headed mallet and light tapping, while pushing on the Phillips against the spring to keep its hole aligned with the liners.
Eventually it works through completely, and light tapping with some patience worked it through without bending the liners.
We're now ready to cut the pin down to about 1-1.5 mm protrusion and pein the ends into domed rivet heads. Cutting the pin with diagonal cutters leaves a sharp bevel. This has to be filed flat before the peining can begin.
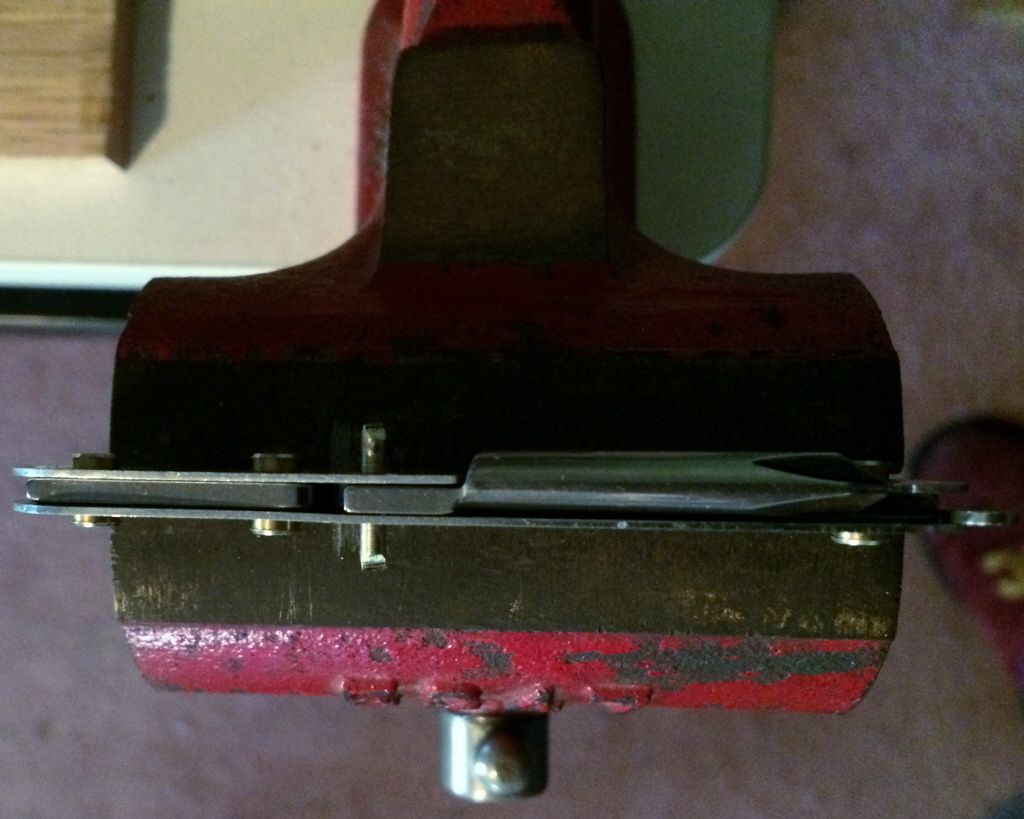
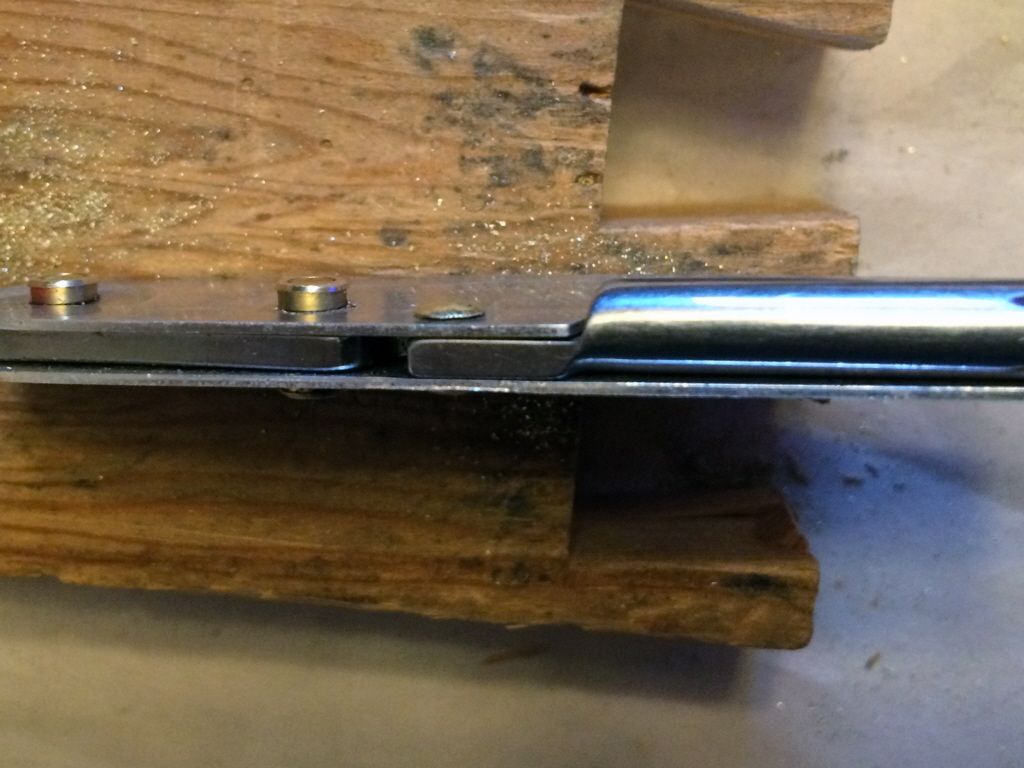
I used an 8 oz ball-pein hammer and the small anvil on the back of the small table vise. The peining takes longer than I had expected, having never done it before. I also did not know what it should look like as the peining progressed as the ends started to spread out and mushroom. Nevertheless, I continued, striking not just the center, but around the edges to try to create a dome shape.
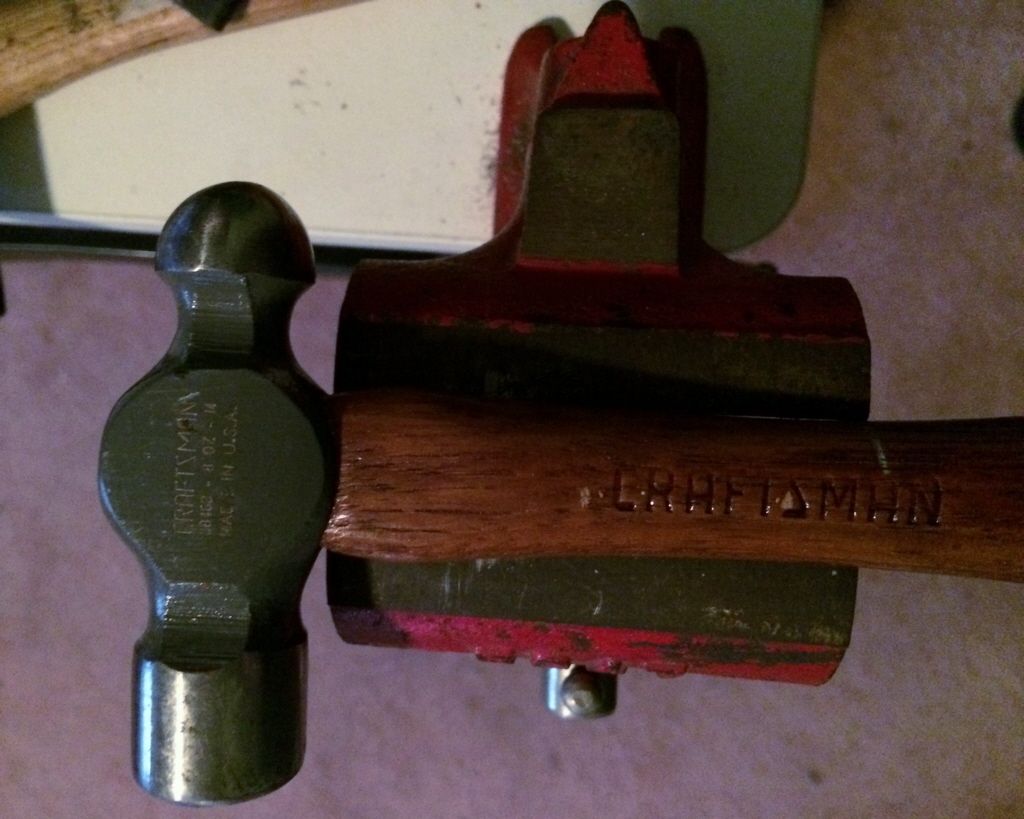
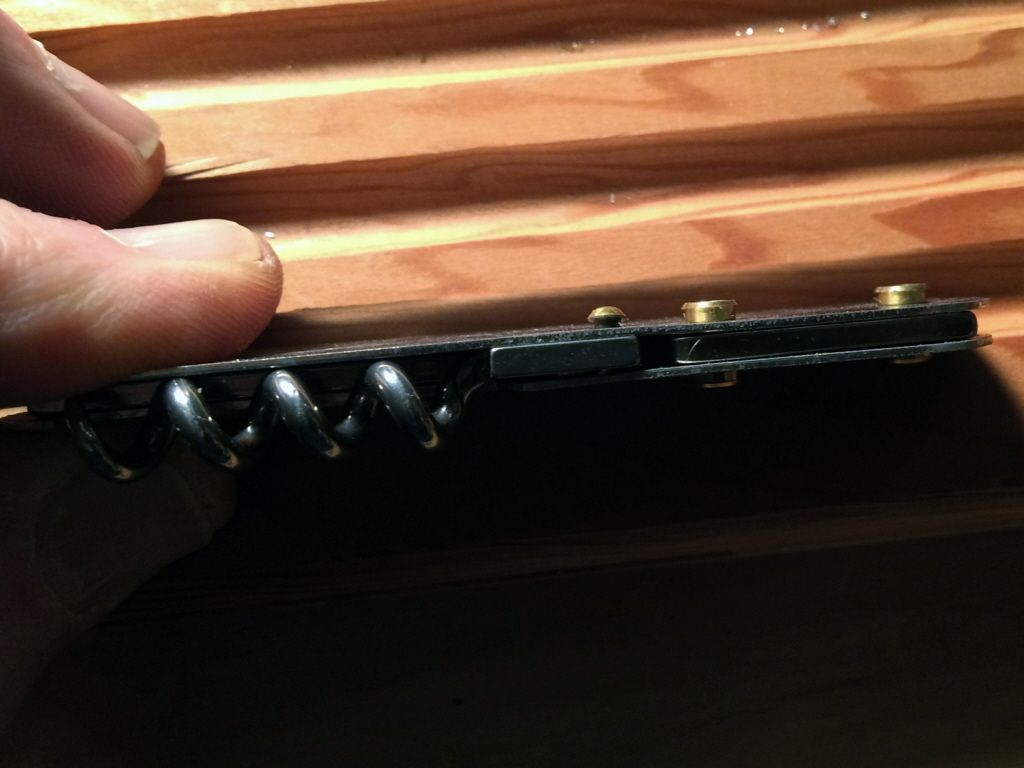
Got so engrossed with the peining, frequently turning the knife over to work both sides at the same rate that I forgot to photograph it partially peined. For a first effort at peining domed brass brass rivet heads, it looks like it worked OK. They're broader than the original, and I'm hoping more robust, as there could be substantial torque on the Phillips driver that would stress them. Tried to make both sides look as much alike as possible, stopping just as it just started to lose looseness, when I felt slight friction against the liners when rotating the Phillips on the pin, but still maintained a good snap. The ball-pein on this hammer seemed just a bit large as it was difficult to strike the edge of the pin closest to the other pin with collar nearby. The 8 oz weight seems good for the task, but might try to find a smaller diameter ball for the next one. Photos show both sides with similar diameter heads. There's plenty of room under the scales for larger diameter and thicker heads.
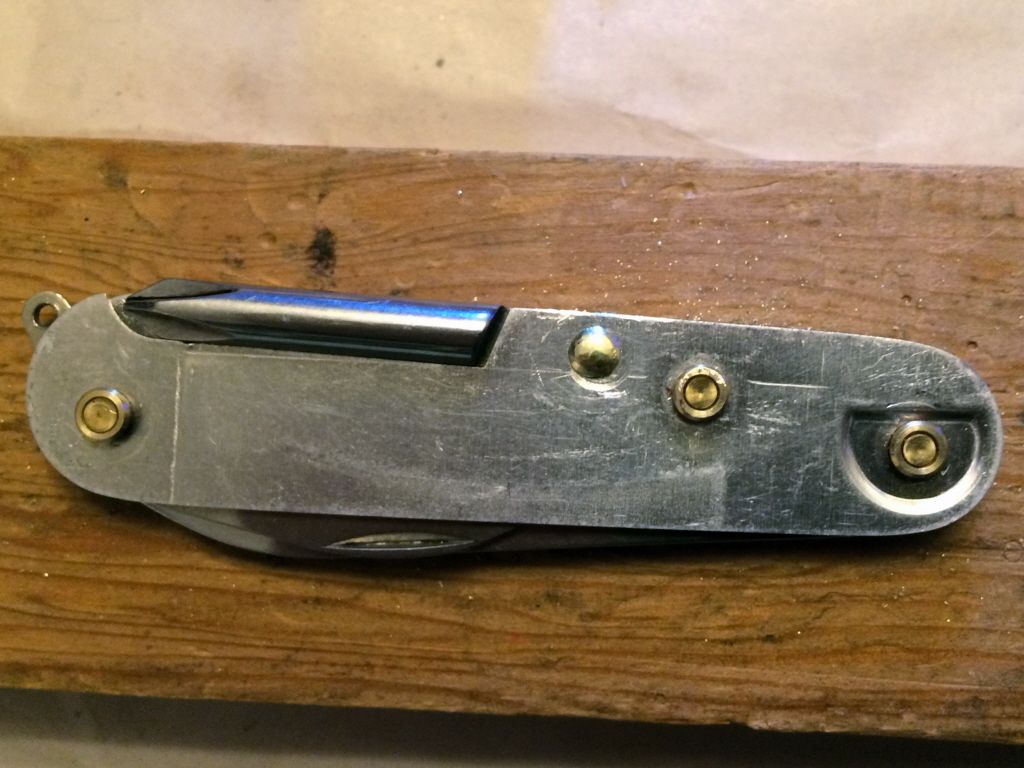
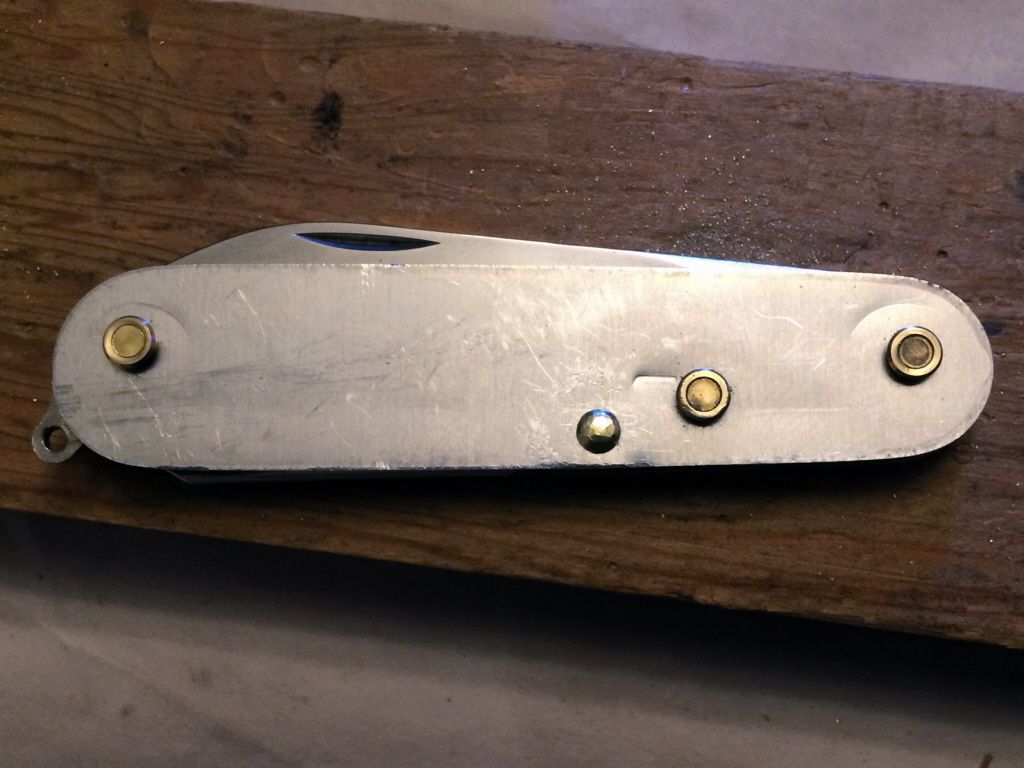
They're both about the same height and the heads look like they're down to the liners around the edges.
Finally, as I didn't have any new 84 mm scales, I put the original Waiter nylon scales back on it, as they survived removal best. The Cellidor from the Small Tinker left substantial material behind on the rivet collars. I'll be getting some 84mm scales soon, so these are temporary. Cleaned it afterward to ensure any brass debris was removed and lubed everything again. Blades have decent snap to them and feel smooth after working in the lubrication. Phillips doesn't have any lateral play. Overall I'm pleased. Time will tell with use of the Phillips how well I did with its pin and peining it. I now have the Apprentice I wanted. May give this one to a good friend. I've got several more Waiters and thrashed Tinkers piled up. Hoping the next ones won't take as long as this one did, now that I've gotten past some of the learning curve.
John


